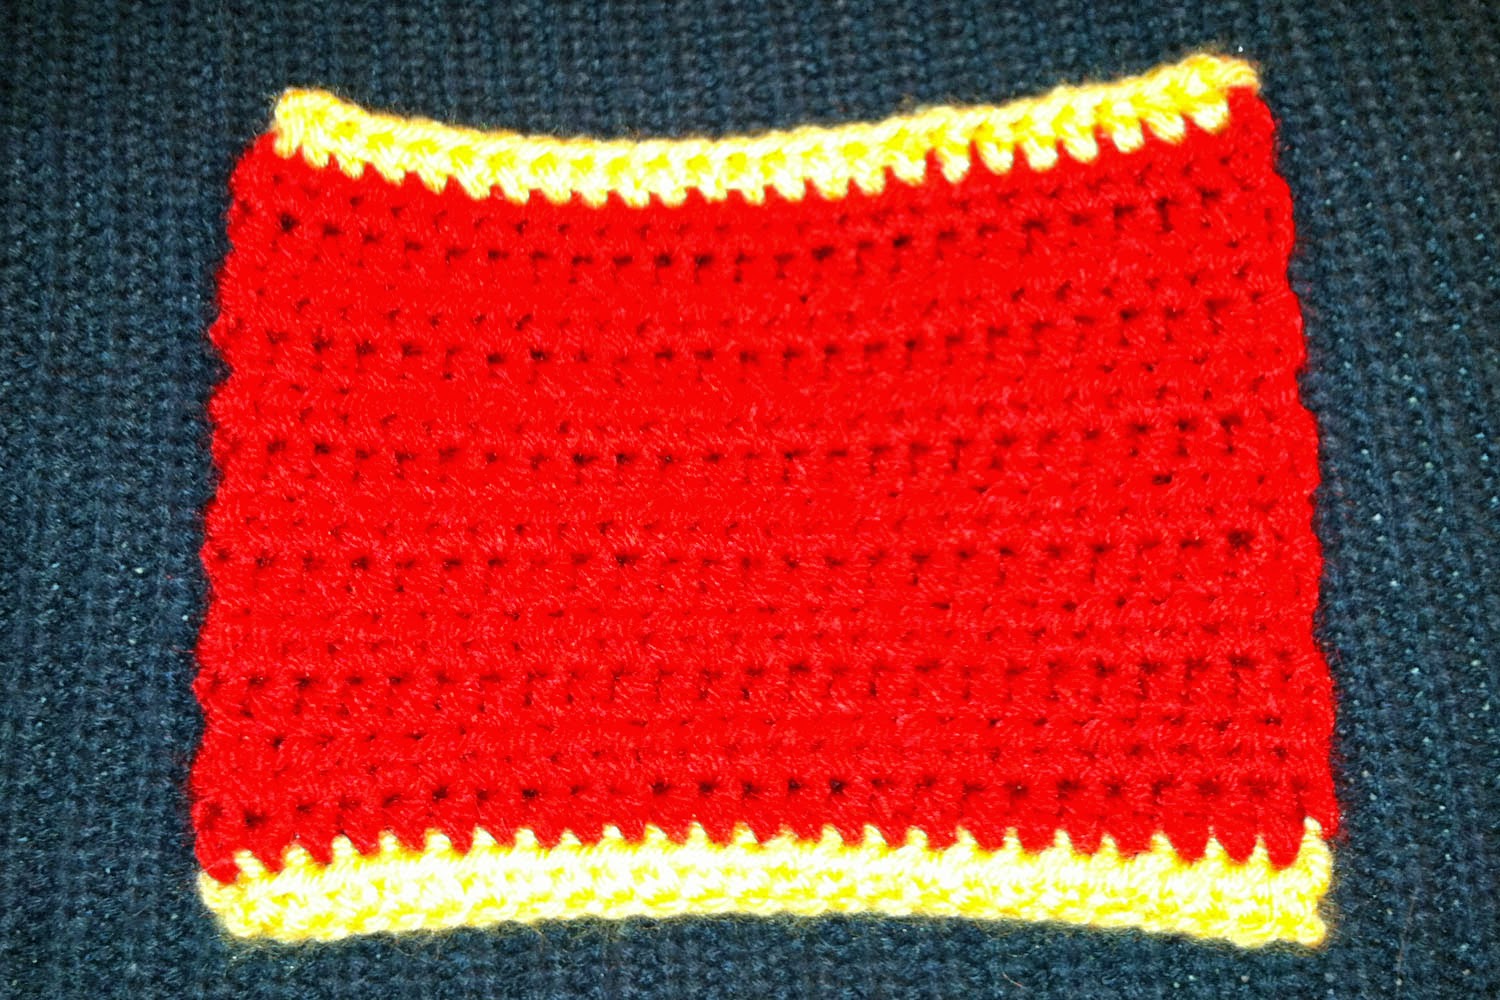
Crochet Rochelle: Hands
Showing posts with label Hands. Show all posts

Friday, April 17, 2020

Rumpelstiltskin Hand Warmers


The griddle stitch pattern creates a soft texture ideal for any fabric and occasion! 

*The griddle stitch is an alternating pattern between SC and DC. Make SC stitches in DC stitches from previous row, then DC in the SC from previous row. Each row should always start with a SC and end with a DC, Chain 1 and turn.


Sizes: Infant - Adult 
(Hand Around x Length)
Infant: 4.5" x 4.5"
Toddler: 5.5" x 5.5"
Child: 6.5" x 6.5"
Teen/Adult S: 7" x 7"
Women/Adult M: 7.5" x 7.5"
Men/Adult L: 8.5" x 8.5"


Materials: 
Worsted weight yarn
Tapestry needle
Stitch Markers

Hook size: I/5.50mm 

Abbreviations:
CH = chain
SC = single crochet
DC = double crochet
SL ST = slip stitch
ST = stitch
 
Gauge:
4 stitches = 1" across 
2 rows = 1" height 

Special Notes:
Chains do not count as stitches in this pattern.
Dimensions are based on averages, (Circumference x Length).
Measure the intended hands (around the widest part of the hand) for an ideal fit.
End on DC stitch throughout pattern. 


Pattern Instructions:

Teen/Adult Small:
Chain 28+1
Row 1: SC in second chain from hook, DC in next chain, *(SC, DC) repeat across to end of chains, Chain 1, turn. (28 sts)
Row 2: SC in first stitch, DC in next, *(SC,DC) repeat across to end of row, Chain 1, turn. (28 sts) 
Row 3 - 16: Repeat R2. (28 sts)
Leave 10 - 12" yarn tail for sewing sides.

*Refer to the guide below for various size options. Replace the “Chain xx+1” with your respective size for number of stitches and rows.

Pattern Guide: 
(Stitches x Rows)
Infant: 16 sts x 8 rows
Toddler/1- years: 20 sts x 12 rows
Child/-10 years: 24 sts x 14 rows
Teen/Adult S: 28 sts x 16 rows
Women/Adult M: 30 sts x 18 rows
Men/Adult L: 34 sts x 20 rows


Assembly: 
You should now have a rectangle shaped piece of fabric. Fold in half and use stitch markers to align sides to each other. I placed stitch markers to also indicate where to leave an opening for my thumb. Sew up the side, skipping the section for the thumb hole. Add buttons or ribbons to embellish as desired.


*You may choose to sew the entire length (minus your thumb hole/opening) or you may choose to add buttons as fasteners. I decided to add buttons as fasteners and stopped sewing the side near where my hand meets my wrist. That left about 6 - 8 rows not joined at the bottom. I sewed the buttons on one side and used the natural gaps in the opposite side to act as the button holes. (See image below for reference.)


I created my hand warmers to fit my hands snug but not too tight. Using an I hook in this pattern will give your fabric gentle ease. Please keep in mind that I tend to crochet a bit loosely, so you may need to adjust your hook size down or decrease stitch count to obtain the desired hat size. I have calculated sizes based on average head measurements.

If you try this pattern, I’d love to see your finished product! Sharing is caring.

#rockthehook
Tia

Connect with me here:

COPYRIGHT: This pattern and associated images are protected by copyright for © 2012-2020 Crochet Rochelle and may not be duplicated or sold. PLEASE DO NOT COPY, SHARE, ADJUST OR RESELL PATTERN. This pattern may be printed for the personal use of the purchaser only, and may not in any form be reproduced or distributed, in part or in whole, through any venue, electronic or otherwise. You MAY sell finished PRODUCTS from this pattern and I would so appreciate a mention or link as the source of the pattern. Many hours of creating, design and love goes into each pattern. 
Please respect my efforts.

Wednesday, November 26, 2014

Gryffindor Hand Warmers


(This pattern originally appeared online at Craftown.com. Copyrights have now reverted to me, the designer.)

Do you have a Hogwarts fan that could use some warm hands? How about a Harry Potter buff needing relief from the chilly fall weather? I have just the thing to keep those hands warm and spirits high. Crochet a pair of Gryffindor Hand Warmers to show off your house pride and support your favorite Quidditch team. My free crochet pattern is simple and easy to work up and comes together in a nice tight pair of hand warmers. I designed this pattern to fit an adult hand, size medium to large. (They do fit my husband’s very large hands, although they are very tight on him.)

I had so much fun creating these hand warmers because first, I love Harry Potter, Hogwarts and wish I was a Gryffindor House member. And second, I loved how the bold red and gold stripes naturally formed from the Red Heart Team Spirit Yarn. You could easily use this pattern and Red Heart's other Team Spirit color variations to crochet a pair in your favorite sport team's colors.

Add this pattern to your Ravelry Queue.

Skill Level:  Easy

Materials: Red Heart Team Spirit Yarn in Red & Gold

Hook size: H/5.00mm

Abbreviations:
CC = change color
CH = chain
SC = single crochet
HDC = half double crochet
DC = double crochet
SL ST = slip stitch
SC2TOG = single crochet decrease (or single crochet 2 together)

Gauge: 5 sc = 1 inch


Instructions:
Ch 29, sl st to 1st ch to form a circle, being careful not to twist your chain.
Rnd 1: Ch 1, (always start in same st at join here and throughout pattern) sc in same sp, sc around, sl st to join. (28 sc)
Rnd 2 – 8: Repeat Rnd 1 (28 sc)

Left Hand:
Rnd 9: Ch 1, sc in same sp, sc 25, ch 8 skip 4 spaces, sl st to join. (34 st)
Rnd 10: Ch 1, sc in same sp, sc 33 around (including scs in chs from previous rnd), sl st to join. (34 sc)
Rnd 11 – 13: Ch 1, sc in same sp, sc 33 around, sl st to join. (34 sc)
Rnd 14: Ch 1, sc2tog, sc 24 around, sc2tog, sc 6, sl st to join. (32 sc)
Rnd 15: Ch 1, sc2tog, sc 24 around, sc2tog, sc 4, sl st to join. (30 sc)
Rnd 16: Ch 1, sc2tog, sc 22 around, sc2tog, sc 4, sl st to join. (28 sc)
Rnd 17: Ch 1, sc around, sl st to join. (28 sc)
Rnd 18 – 22: Repeat Rnd 17. (28 sc)
Rnd 23: Ch 1, 2 sc in same sp, sc 10, 2 sc in same sp, sc 10, 2 sc in same sp, sc 5, sl st to join. (31 sc)
Rnd 24: Ch 1, 2 sc in same sp, sc around to end, sl st to join. (32 sc)
Rnd 25: Ch 1, sc around, sl st to join. (32 sc)
Rnd 26 – 29: Repeat Rnd 25. At Rnd 29, finish and weave ends. (32 sc)

Right Hand:
Rnd 9: Ch 10, skip 4 spaces, sc 26, sl st to 2nd ch to join. (34 st)
Rnd 10: Ch 1, sc in same sp, sc 33 around, sl st to join. (34 sc) *Be sure to count your scs carefully here. I found it easy to start in the wrong sp at the beginning of rnd, causing me to have 35 scs.
Rnd 11 – 13: Ch 1, sc in same sp, sc 33 around, sl st to join. (34 sc)
Rnd 14: Ch 1, sc2tog, sc 6, sc2tog, sc 24 around, sl st to join. (32 sc)
Rnd 15: Ch 1, sc2tog, sc 4, sc2tog, sc 24 around, sl st to join. (30 sc)
Rnd 16: Ch 1, sc2tog, sc 4, sc2tog, sc 22 around, sl st to join. (28 sc)
Rnd 17: Ch 1, sc 28 around, sl st to join. (28 sc)
Rnd 18 – 22: Repeat Rnd 17. (28 sc)
Rnd 23: Ch 1, 2 sc in same sp, sc 10, 2 sc in same sp, sc 10, 2 sc in same sp, sc 5, sl st to join. (31 sc)
Rnd 24: Ch 1, 2 sc in same sp, sc around to end, sl st to join. (32 sc)
Rnd 25: Ch 1, sc around, sl st to join. (32 sc)
Rnd 26 – 29: Repeat Rnd 25. At Rnd 29, finish and weave ends. (32 sc)

You are all done! Enjoy.


Rock the hook,
Tia

Don't forget to rock with me over at Facebook, Pinterest and on Ravelry.

Originally published at http://www.craftown.com/Gryffindor-Hand-Warmers.html

Wednesday, October 29, 2014

TMNT Inspired Gloves


Hey Rockers!

I've got a new pattern for purchase in my Etsy Shop to go with the Teenage Mutant Ninja Turtles (TMNT) Inspired Hat. I designed TMNT Inspired fingerless gloves to match, for purchase listed at $2.99 here.

I originally designed the hat for my sons as both were begging for "turtle masks." The my youngest son pestered me for matching gloves too. The pattern includes sizes Child to Adults...so basically everyone in the whole family can look like an adolescent cartoon/movie fanatic!


If you do purchase the pattern I would love an honest review of the pattern and shop.

In you don't have an Etsy account, and would rather get the pattern at Ravelry...it's listed there too!

Alright. I've plugged my new Etsy shop listing and imposed on your time long enough! Here's the url just in case it's easier for you to find:

http://www.etsy.com/shop/CrochetRochelleShop

Rock the hook,
Tia

Don't forget to rock with me over at Facebook, Pinterest and on Ravelry.

Wednesday, September 24, 2014

Crocodile Stitch Bracelet

(This pattern originally appeared online at Craftown.com. Copyrights have now reverted to me, the designer.)  
 
Fun, fast and fashionable – this crocodile stitch bracelet is perfect to accessorize your wardrobe.  Create this fun crocheted piece of jewelry and keep to show off or give as a gift to a friend.  Crochet one in any color or even ombre/variegated yarns for some real color pop.  Increase or decrease the number of crocodile stitches to crochet different sized bracelets.  They look snazzy on any wrist!

Add this pattern to your Ravelry Queue.
Size: Teen/Adult
Skill Level:  Easy
Materials: Lion Brand Vanna’s Choice in Fern

Hook size: H/5.00mm

Abbreviations:
Ch = chain
Sc = single crochet
Dc = double crochet

Gauge: 1 full crocodile stitch = 1 inch approx.

Instructions:
Chain 3.
croc croc croc
Croc 1: Dc in third ch from hook.  Ch 1. Dc around 1st dc, 5 times. Turn your work 90 degrees and dc around chain 3 length, 4 times. Ch 2, sc in center space. Ch 2.  This gives you one crocodile stitch.

croc croc croc
Croc 2: Dc in center space of previous crocodile stitch. Ch 1. Dc around 1st dc, 5 times. Turn your work 90 degrees and dc around chain 2 length, 4 times. Ch 2, sc in center space. Ch 2.  You should now have 2 crocodile stitches. 

croc
Croc 3 – 9: Repeat Croc 2.
Croc 10: Dc in center space of previous crocodile stitch. Ch 1. Dc around 1st dc, 5 times. Turn your work 90 degrees and dc around chain 2 length, 4 times. Ch 2, sc in center space. Ch 10.  Join to center of crocodile stitch.  This gives you a nice loop to use to fasten your bracelet. 

croc
To wear: Wrap your loop around the last crocodile stitch in the opposite end of the bracelet to fasten.

Don't forget to rock with me over at Facebook, Pinterest and on Ravelry.

Originally published at http://www.craftown.com/Crocodile-Stitch-Bracelet.html

Wednesday, September 17, 2014

Survival Bracelet


(This pattern originally appeared online at Craftown.com. Copyrights have now reverted to me, the designer.)  
 
Survival bracelets are fun and functional, not only as must-have survival gear, but also as fashion accent pieces.  Most tutorials for creating a survival bracelet include some elaborate knot-tying and finish pieces.  In an effort to create one for my husband, I came up with a crochet-friendly, simpler version. These make excellent gifts for guys, sports team fans and small stocking stuffers. They are also fairly quick to work up. I hope you enjoying creating and giving your crocheted survival bracelets.

Add this pattern to your Ravelry Queue.

Size: Teen/Adult
Skill Level:  Easy
Supplies:  Para cord (any color),

Hook size: N/9.00mm

Abbreviations:
CH = Chain
SC = Single Crochet

Gauge: 3” = 5 single crochet


Instructions:
Leave about a 6” tail of Para cord for finishing.
CH 18, for a 9” bracelet.  (Other bracelet sizes: 14ch = 7”, 20ch = 10”).
Row 1: SC in third ch from hook, sc across to the end.  (16 sc)  Finish off.  Leave about 6” of tail for finishing.

To finish: take both tails together and tie a nice bulky knot close to the end.  Trim the tails, leaving about 1 – 2 inches from the knot.  Burn/singe each end of the tails to keep the Para cord from unraveling and to give your bracelet a finished look.

To wear, poke the knot through the extra ch space at the opposite end and it acts as a clasp for your bracelet.


Notes:
7" bracelet = 8ft of Para cord approx.
9” bracelet = 10ft of Para cord approx.
10” bracelet = 11-12ft of Para cord approx.

Para cord can be found at some Army surplus stores, Outdoor Recreation/Camping Gear stores, and many places online. Craft stores like Michael's and Hobby Lobby are starting to carry Para cord as well. I have purchased some fun colors from online sources at very reasonable prices, (usually in bulk for the best price per foot.)  Try crocheting some in team colors, neon colors, and my personal favorite: pink!

Don't forget to rock with me over at Facebook, Pinterest and on Ravelry.

Originally published at http://www.craftown.com/Survival-Bracelet.html.

Wednesday, July 23, 2014

Iron Man Inspired Fingerless Gloves


(This pattern originally appeared online at Craftown.com. Copyrights have now reverted to me, the designer.)  
 
Hey Rockers!

Do you have an Iron Man (or Avengers) fan living at your house?  These fingerless gloves will make the perfect gear for your little superhero to wear while crime-fighting and playing!  Crochet a pair of Iron Man gauntlets in any size by simply increasing your base chain to be long enough to fit around the wrist of your superhero and follow the rest of the free pattern.  Simple, easy, and fast to crochet - these superhero gloves will save the day!


Add this pattern to your Ravelry Queue.

Size: Child - Adult

Skill Level: Easy

Materials: Lion Brand Vanna’s Choice in Red, Yellow, White and Black
(Worsted weight or cotton yarn)

Hook size: G/4.25mm, yarn needle

Abbreviations:
CC = change color
CH = chain
SC = single crochet
HDC = half double crochet
MR = magic ring
RND = Round
R = Row

Gauge:
5 hdc = 1"

Instructions:

Gloves (Make two.)
Yellow: Chain 31, turn.
Row 1: Half double crochet in second chain from hook and in each chain across, turn.
Row 2: CC to red and chain 2.  Hdc in each stitch across, turn.
Row 3: Chain 2.  Hdc in each stitch across, turn.
Row 4 – 14: Repeat Row 3.
Row 15: CC to yellow and chain 2. Hdc in each stitch across. 
Finish off. Weave in ends.


Circle Applique (Make two.) aka: Iron Man Repulsor Blast
White: Start with a magic ring. (tutorial at link)
Rnd 1: Single crochet 6 sc in magic ring. Join to first sc. Do not turn. (Total of 6 sc.)
Rnd 2: 2 sc in each sc around. Join to first sc.  Do not turn. (Total of 12 sc.)
Rnd 3: *2 sc in first sc, 1 sc in next sc, repeat from * around to last sc. Join to first sc.  Do not turn. (Total of 18 sc.)
Rnd 4: *2 sc in first sc, 1 sc in each of next 2 sc, repeat from * around to last sc.  Join to first sc. Do not turn. (Total of 24 sc.)
Rnd 5: CC to black.  *2 sc in first sc, 1 sc in each of next 3 sc, repeat from * around to last sc.  Join to first sc. Finish off.  Weave in ends. (Total of 30 sc.)


Bring It Together
Using white yarn and a yarn needle, sew the circle applique onto the red rectangle.  Because this pattern is for a smaller hand, I find it a little easier to sew the applique on first, before sewing up the sides of the glove.  See the image for positioning the applique.  (Just make sure to place applique on the opposite side for second glove.  That way your repulsor blasts are both in the right spots!)
Fold two sides to line up together, with the right side of your crochet facing inwards.  This should also cause your applique to face inwards as well. Line up your colors (red and yellow) as close as possible.

Now, using red yarn and a yarn needle, sew the two short sides of your rectangle together.  About 1 – 2 inches from the top of rectangle (be sure to check where your circle applique is positioned) leave a 1 – 2 inch gap for the thumb-hole.  Finish sewing sides together, finish off and weave in any loose ends.

Turn right side out and wear!

*Extras: if you are crocheting this glove for younger or older children, simply decrease or increase the original chain length to fit their wrist (about 1 inch below the crease at bottom of palm should do it).

*Bonus: I have already had to wash my little superhero’s gloves twice and the good news is – they hold up really well in the washing machine!


Rock the hook,
Tia

Don't forget to rock with me over at Facebook, Pinterest and on Ravelry.
Or visit my Etsy shop here: http://www.etsy.com/shop/CrochetRochelleShop

Originally published at http://www.craftown.com/Iron-Man-Gloves.html  

Wednesday, July 9, 2014

Captain America Inspired Fingerless Gloves


(This pattern originally appeared online at Craftown.com. Copyrights have now reverted to me, the designer.)  
 
Hey Rockers!

Do you have an Avengers fan living at your house?  These Captain America inspired fingerless gloves will make the perfect gear for your superhero to wear on chilly days or paired with a costume.  Crochet a pair of Captain America gloves in any size by simply increasing your base chain to be long enough to fit around the wrist of the recipient and follow the rest of the free pattern.  Simple, quick and fun to crochet - these superhero gloves will make you a hero! 

I worked the pair for my son up alternating blue and white. You could easily work up a solid blue pair if you are short on time or don't fancy the striping effect.

Add this pattern to your Ravelry Queue.

Size:
Older Child - Adult

Skill Level: Easy

Materials:
Worsted weight yarn in red, white and blue (Lion's Brand Vanna's Choice pictured)
Yarn/tapestry needle

Hook size: G/4.25mm

Abbreviations:
CC = Change Color
CH = chain
SC = single crochet
HDC = half double crochet
DC = double crochet
RND = Round
SL ST = slip stitch

Gauge:
Sc, chain 5, sc = 1" (length)
2 Rows = 1" (height)


Glove (Make two.)
Blue: Chain 31, turn.
Row 1: Half double crochet in second ch from hook and in each ch across, turn.
Row 2: Ch 2.  Hdc in each stitch across, turn.
Row 3: CC to white. Ch 2.  Hdc in each stitch across, turn.
Row 4: CC to blue. Ch 2. Hdc in each stich across, turn.
Row 5: Ch 2. Hdc in each stich across, turn.
Row 6: CC to white. Ch 2.  Hdc in each stitch across, turn.
Row 7: CC to blue. Ch 2. Hdc in each stitch across, turn.
Row 8: Ch 2. Hdc in each stitch across, turn.
Row 9: CC to white. Ch 2.  Hdc in each stitch across, turn.
Row 10: CC to blue. Ch 2. Hdc in each stitch across, turn.
Row 11: Ch 2. Hdc in each stitch across, turn.
Row 12: CC to white. Ch 2.  Hdc in each stitch across, turn.
Row 13: CC to blue. Ch 2. Hdc in each stitch across, turn.
Row 14: Ch 2. Hdc in each stitch across, turn. Finish off and weave in ends.

Star Applique (Make two.)
Red: Chain 3.
Rnd 1: 10 hdc in third ch from hook. Sl st to first hdc. Do not turn.
Rnd 2: *Chain 5. Slip stitch to 2nd ch from hook, 1 sc in 3rd ch from hook, 1 hdc in next ch, 1 dc in last ch; repeat from * 4 times.  Finish off.


Bring It Together
Using red yarn and a yarn needle, sew the star applique onto the rectangle.  Because this pattern is for a smaller hand, it’s a little easier to sew the applique on first, before sewing up the sides of the glove.  See the image for positioning the applique.

Fold two sides to line up together, with the right side of your crochet facing inwards.  This should also cause your applique to face inwards as well. Line up your colors (blue and white) as close as possible.

Now, using blue yarn and a yarn needle, sew the two short sides of your rectangle together.  About 1 – 2 inches from the top of rectangle (be sure to check where your circle applique is positioned) leave a 1 – 2 inch gap for the thumb-hole.  Finish sewing sides together, finish off and weave in any loose ends. 

*Extras: if you are crocheting this glove for younger kids, older kids or adults, simply decrease or increase the original chain length to fit their wrist (about 1 inch below the crease at bottom of palm should do it).

*Bonus: these superhero gloves hold up really well in the washing machine! 

Rock the hook,
Tia

Don't forget to rock with me over at Facebook, Pinterest and on Ravelry.

Originally published at http://www.craftown.com/Captain-America-Gloves.html

Friday, January 4, 2013

Gryffindor Love

Hiya Gryffindor Lovers!

I know I have been MIC (missing in crochet) for awhile...mainly due to a nasty sinus infection that lasted about 60 days. Yeah that's right. A two month sinus infection. Nasty.


Anyhow, it was about all I could do to keep up with work, little boys, making dinner and dragging myself through the holidays. (Yes the sinus infection followed me through Thanksgiving into Christmas. Nice.)

I did manage to mix my love of crochet with all things Gryffindor and Harry Potter just because I could. I came up with these Gryffindor hand warmers using the Red Heart Team Spirit yarn in Red and Gold. The pattern is free and published over at Craftown.com (my day job).


The pattern works up pretty fast and uses a single crochet stitch (pretty basic). I used my own hands as a guide as I wrote the pattern so hand warmers will fit a medium to large adult hand. (My hubby can pull them on, though it's a snug fit.)

Follow the link on the images if you would like to crochet this pattern.

So, with renewed health (sort of - I'm on the healing track now) and renewed spirit and energy I embrace the new year and prepare to delve even deeper into my crochet love with all of you, my crochet rockers!

xx

PS: I will be making more Harry Potter themed items this year...they are just so dang fun!

Wednesday, August 22, 2012

Hand Size Chart

Hey Crochet Rockers,

While I was creating my seed stitch cuff (and a few other patterns I'll be adding soon) I scoured the internet for a hand size chart so I would know the average sized adult woman's hand and wrist. I took matters into my own hands and decided to create my own version to use as a reference chart and thought you might need one too!

Here is my hand size chart - Enjoy! (Keep in mind this is based on averages. Always measure for size if you are able to...especially babies.) I like having this chart and my Feet Size Chart just as a rule of thumb. It gives me starting place and I keep a copy in my crochet bag too. I've included a pdf version below for easier access.

Here is the PDF version.

xx

Seed Stitch Cuff

Hiya!

I came up with a simple new cuff last night while watching America's Got Talent. I had three things in mind as I started this project. I wanted to use this new heather gray yarn I bought on sale. I had some red buttons left from a a sweater I recycled back into yarn. And I wanted to practice the seed stitch. So I came up with the following pattern!

The cool thing about this cuff is that it can be created in just about any color, from solids to variegated, with all sorts of buttons as accent pieces. I especially loved the blood red button against the gray yarn. Also, the seed stitch looks really nice worked in the gray yarn. I hope you enjoy creating and wearing your seed stitch cuffs as much as I did and do.

Seed Stitch Cuff

Level: Beginner
Hook: H/5.00
Materials: Craft Smart Medium Weight Yarn in Gray (JoAnn's - I think?)
Key:
ch = chain
sl st = slip stitch
sc = single crochet

Ch 9.
Row 1: Sc in 2nd ch from hook, ch 1, sk sp, sc, ch 1, sk sp, sc, ch 1, sk sp, sc, ch 2, turn.
Row 2: [Sc in ch 1 sp, ch 1] 3 times, sc in last sp, ch 2, turn.
Row 3: Repeat Row 2 until cuff measures 8 inches, or desired length.


Button Hole
After you reach desired length, begin next row here:
Sc in ch 1 sp, ch 3, sk 3 sp, sc, ch 1, sc in last sp, ch 1, turn.
8 sc across to end. Finish, weave in ends.


Button
One opposite end from button hole, sew on a large button of your choice. See the images for placement. As always, if you need any help with the pattern please send me an email via the Contact page and I'll do my best to get back to you promptly.


Enjoy your trendy new cuff!

xx

Related Posts Plugin for WordPress, Blogger...

My Little Lion Crochet Set

I found these images in my archives and thought it would be fun to share. I never ended up writing or publishing the patterns. If I get some...